How to Secure Your USB Drive and Prevent It from Spreading Virus
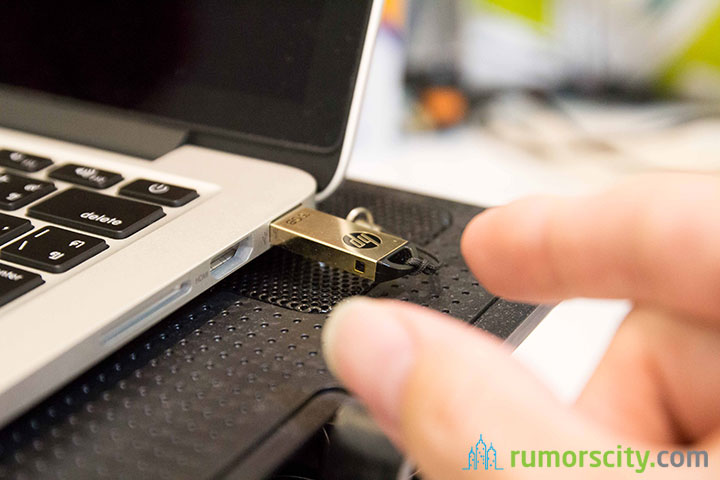
Nowadays, USB flash drives are very useful as they help you keep your data secure. However, because of its convenience and simplicity, malwares, adware and other viruses are often spread through the flash drives.
Here, we will discuss the preventions in common two situations:
- Stop your USB flash drive from being infected
- Secure your USB drive from various virus attacks
1. Secure the USB Flash Drive
There are numerous solutions to protect your USB drive but many of them are related specifically to computers. The solution described here should function with different versions of Windows.
This method utilizes the security permission of the NTFS file format to safeguard your USB drive.
Note: Fat32 is a default file system for many USB drives and it is excellent if you use it on different operating systems like Windows, Mac OS and Linux but if you are using Windows primarily, you can convert the file system to NTFS in a safe manner. Additionally you should not try converting the USB drive to NTFS if the size is lesser than 2GB as that may reduce the performance of the USB drive.
Follow the steps mentioned below to convert a USB drive to the NTFS file system:
Step 1
Go to the Device Manager after inserting the USB drive.
Step 2
Right-click on the USB drive found under the Disk drives section and select Properties.
Step 3
Under the Policies tab, go ahead to the Removal Policy tab and select the Better Performance option.
Step 4
Now right-click on the USB flash drive icon and choose Format by going to My Computer.
Step 5
You have to make sure that the NTFS is selected from the File system menu.
Step 6
Click the Start button to format the flash drive utilizing the NTFS file system.
Now that the process for the flash drive format complete, configure the root of the USB flash drive so that it is in the read-only option.
Step 1
Go to My Computer, right-click on the USB flash drive and after that, select the Properties option.
Step 2
Now go on to the Security tab and select Everyone access only Read-only rights to the root folder.
Step 3
As a final step, you can create a folder named Write and allow it to read or write. If you follow the steps mentioned above, viruses and malware cannot write in the root of the USB flash drive. Additionally, You can always save your data in the Write folder.
2. Keep your Windows safe from USB Drive attacks
Disable the Autorun feature in your USB drive, to prevent viruses in the USB from attacking your computer. This way, the drive won’t start automatically as soon as you plug it in your computer. (Usually your autorun file would be infected by the virus and the virus is hidden in that file in the USB drive).
In order to disable the autorun feature of your USB drive, use this registry fix:
Step 1
Open the Registry Editor by going to Run->regedit.
Step 2
In case you want to disable the autorun feature for all the users, go to the following key:
HKLM\Software\Microsoft\Windows\CurrentVersion\Policies\Explorer
If you want to disable autorun feature only for one user, go to the following key:
HKCU\Software\Microsoft\Windows\CurrentVersion\Policies\Explorer
Step 3
Create a different Hex value with the name: NoDriveTypeAutoRun
Step 4
Now, change the value of the key that is created. Change it to 4 (HEX)
Step 5
Now, restart Windows Explorer after the steps. This will ensure that the autorun feature is disabled.
If you don’t want to edit your registry, a few tools can examine the USB ports for the insertion of your USB drive and disable it. It will remain disabled until you decide to take further action and activate it. Some tools also detect the USB flash drives from viruses and disinfect them too.
1. Phrozen Safe USB
The Phrozen Safe USB performs in three various modes.
- Fully operational USB Drives: This is a default mode and the USB flash drives function in the usual read/write mode. You can read from and write into the USB drives.
- Read only mode in USB devices: This mode will regulate the USB devices and limit them to only read-mode. This means that you can read the content in the USB drives but you can’t write into it.
- Disactivated USB devices: This mode disables the support of the storage device on the system.
Take note that the typo in the last option i.e. Disactivated USB devices comes from the software and we left it as it is. This option is what you require to prevent the USB storage devices from being operational. It will be disabled until you decide to give your permission.
2. Ninja Pendisk
Ninja Pendisk is another widespread choice to monitor malwares in the USB drives. It is a lightweight portable utility tool that waits for the insertion of the USB drive. Ninja Pendisk is advantageous to a user as you can disable the “Auto-play” feature of Windows very quickly. It needs only two clicks and you can enable it again in an instant when you need it.
3. Mx One Antivirus
Mx One antivirus is an awesome utility tool that works both ways. It allows you to install it in the USB drive and safeguards the USB drive while inserting it on any system. Additionally, you can install it in your Windows PC and let it protect against USB malwares and viruses.
To scan for viruses in the USB flash drive, you will have to run the executable when you install Mx One Antivirus on the USB drive. You have to do this, as it does not run automatically.
When you install Mx One Antivirus on your computer, it will detect various USB devices inserted afresh and scan them for viruses and malwares. Bear in mind that Mx One Antivirus is an absolute antivirus for USB drives and it needs to update its virus definitions continuously to detect and prevent different USB threats.
In addition, it supports USB drives with storage capacity like iPhones, mp3 players etc.
There are numerous ways to safeguard your USB drive and PC as mentioned above. However, I prefer Phrozen Safe USB. Share your experience with us if you are using a different software in the comments.


