How to flash Gigabyte 7950 to F43 BIOS at 1.09V
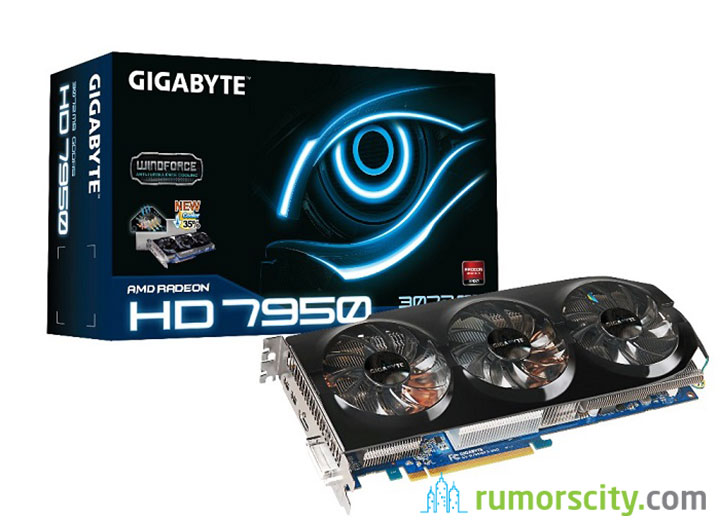
New Gigabyte graphics cards come with locked voltage at 1.25V and stock clocks at 1000Mhz GPU, 1250Mhz memory. This would pose as a problem if you are using it for crypto-currency mining as the cards will run hot and power consumption is high. I have a setup of two 7950 and system took around 800W and it was really hard to keep them under 75C at stock clocks with 85% fan speed. Hashes were averaging at 600KHash/sec each card when i’m mining Litecoin.
Actually there is a way to lower the voltage lock and lower clock rate with an older official BIOS (F43). By flashing this BIOS, my GPU temperature is maintained at around 66°C with 66% fan speed and power consumption dropped by around 40W per card. I will guide you through on the way to achieve this.
How to flash Gigabyte 7950 to F43 BIOS
Warning
- With F43 BIOS, the HDMI port will STOP working. So you will have to use either the DP or DVI to connect to the monitor.
- There are new cards with FTO BIOS that won’t be able to flash the official F43 BIOS. So do check your current BIOS version before proceeding any further.
- There are always risks involved when flashing the BIOS, so this tutorial is for advanced users who know what they are doing. I am taking no responsibility for any damage you might have by following these instructions.
Step 1 : Download files
Password : rumorscity
Extract both files. We will need to use it later.
Step 2 : Create DOS bootable USB drive
Create a DOS bootable USB disk. There’s a tutorial here : How to create a DOS bootable USB drive.
Step 3 : Copy files to USB drive
Copy both the F43 BIOS and ATIFlash files that you have extracted in Step 1 to the USB drive with bootable DOS.
Step 4 : Reboot computer into MS-DOS
With the USB drive plugged in the computer, reboot it into MS-DOS. If it does not automatically boot from the USB drive, you may need to change your boot order or use a boot menu to select the device you want to boot from.
Step 5 : BIOS switch on GPU
Each of your GPUs should have a tiny switch somewhere on it. This is the BIOS selector switch—most Radeon 7xxx cards should have one. I’ve never found a 7950 or 7970 card that doesn’t. Locate this switch, and then flip it (this can be done while your rig is powered on) so that it is now in the other position. This is extremely important and acts as your safety net if anything should go wrong! If you’re unable to boot up after completing the BIOS flash, simply flip the switch back to restore your original BIOS. If you can’t locate the switch, or your video card doesn’t have one, I’d strongly urge you to abort the rest of the process.
Step 6 : Flash F43 BIOS
Check the version of your current BIOS with this command :
atiflash -ai
Important : If you have FTO BIOS then you CANNOT use F43 BIOS.
atiflash -p 0 xxxxxx.F43
Check the BIOS version on the card again. Type this command :
atiflash -ai 0
You should have BIOS version F43 now. Then reboot your computer. With this version, the GPU stocks at 900/1250MHz at 1.09V. Here is my CGMiner configuration for optimized setting : How to optimize Gigabyte WF3 7950 for Litecoin mining – 650KHash/sec.


