How to setup Raspberry Pi
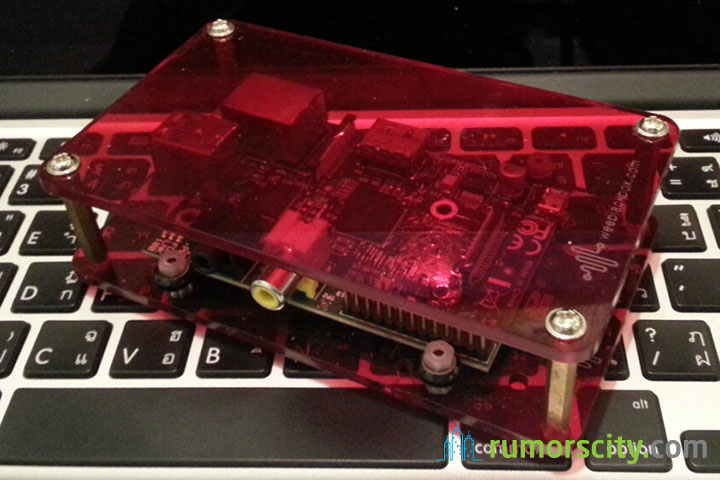
The Raspberry Pi has made quite a splash since it was first announced. You have probably heard of Raspberry Pi, but not exactly sure what it is. It can run several flavors of Linux and is being used to teach kids all over the world how to program. Many call it the computer for kids, but it is actually more powerful than that. The credit-card sized computer is capable of many of the things that your desktop PC does, like word-processing, spreadsheets and games. You can also use it to watch high-definition videos. It does all these for under $50 (Model B).
If you are planning to get yourself a Raspberry Pi, but worry about the complications in setting it up, here is a simple tutorial to help you setup Raspberry Pi. While Linux may sound too technical to an average user, it is actually much easier than you thought.
Guide to setup Raspberry Pi
What do you need
- Raspberry Pi
- 4GB SD card or higher (Raspberry Pi works fine with a class 4 SD card, but you can boost its speed with a class 6 or higher SD card)
- Micro USB adapter (minimum 5V and 700mA)
- Monitor with HDMI input and HDMI cable
- USB keyboard and mouse
- LAN cable with internet LAN access
Step 1: Download installer
We will be using NOOBS installer in this tutorial which is an all-in-one installer.
- Download NOOBS, the offline installer which is about 1.2GB contains the various Linux distro. Or you can download NOOBS Lite, the network version which is about 20MB. The network version requires your Raspberry Pi to be connected to the internet during setup.
- Download SD Formatter (Windows | Mac)
- Install SD Formatter to your computer. Connect the SD card to your computer then launch SD Formatter. Select the SD card, Overwrite Format, then start by clicking Format.
- Then, unzip the NOOBS archive and copy all the extracted files and folders to the SD card.
Step 2: Setup Raspberry Pi
- With the extracted files in the SD card, plug it into the SD card slot of Raspberry Pi.
- Connect all the necessary cables to Raspberry Pi: HDMI cable to monitor, keyboard and mouse to Raspberry Pi’s USB port and LAN cable to Raspberry Pi’s ethernet port if you have downloaded the network version of NOOBS installer.
- Lastly, connect the micro USB power adapter. There is no power button on Raspberry Pi and it will automatically power on once connected to the power adapter.
- Raspberry Pi will boot into the NOOBS Installer and resize the SD card’s FAT partition. Once it is done, it will load the installation screen where you can choose from a list of distributions to install it into your SD card, which include:
- Raspbian (a Debian optimized for Raspberry Pi)
- Arch (Arch Linux optimized for Raspberry Pi)
- OpenELEC (a media center distribution)
- Pidora (a Fedora optimized for Raspberry Pi)
- RISC OS (a fast and compact operating system for ARM devices)
- RaspBMC (XMBC media center for Raspberry Pi)
If you are undecided, it is recommended to install Raspbian. Alternatively, you may select multiple distros and install them in the SD card, provided you have sufficient storage space in your SD card. Once you have clicked the install button, the installation will begin and may take awhile to complete.
Step 3: Finishing Raspberry Pi setup
When installation is done, it will load up the raspberry configuration screen (raspi-config). The default settings should work for most users. But you may want to go into the second option which will let you change the password of default user. The default username/password for Raspbian is pi/raspberry and for Arch is root/root.
Another setting that you may want to change is the third option, which is for booting up Raspberry Pi into a graphical desktop. The default setting is for Raspberry Pi to boot up into a console.
Once you are done with the settings, navigate to Finish by pressing tab. Then press Enter. Raspberry Pi will reboot into the distro that you have installed.
That’s it. You have successfully setup your Raspberry Pi.


