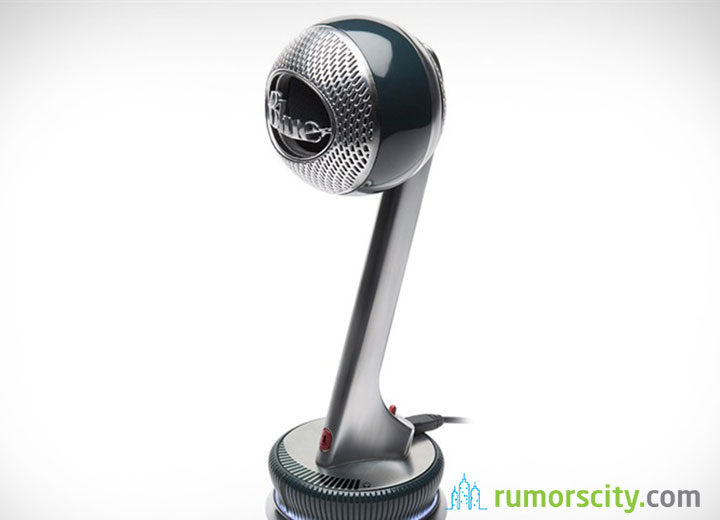
How to Setup External Microphone on your Mac
Nowadays, you can use various kind of microphone from the market on your Mac, be it to communicate via Skype or any other social networking programs. A built-in microphone has been set up on newer Macs but at the same time it is difficult to have privacy when chatting in public places where there are lots of people as it may be quite noisy. Fortunately, it’s quite an easy task to have an external microphone to work on the Mac. Let’s get started on setting up an external microphone on your Mac.
Setting up
Plug the microphone in to your Mac’s USB or audio line-in port. Your Mac should be able to recognize it automatically.
Connecting your Microphone to your Mac
You may not find the microphone port on your new Mac if it was released prior to 2012 because the audio line-in port was removed. Even the Macbook Air released back in 2008 does not have a microphone jack although there are numerous requests by customers.
 Most microphones connect with the PC/Mac via an audio line-in cable. If your Mac have a similar setup, plug the microphone in to the headphone port as shown above. The audio line-in port and audio line-out port was combined into a headphone jack on the latest Macs. Then, we will show you how to tweak the apps changing the mode from built-in mic to external microphone. It will be similar for any apps out there, so let’s see how to do it on Skype and Quicktime.
Skype
Step 1
Let’s start by launching Skype. From the Skype menu bar, select Preferences.
Step 2
Click on the Audio & Video tab. After a drop down menu is shown, switch the Built-in Microphone to External Microphone and you are done. Skype will utilize the external microphone.
Quicktime
Step 1
With Quicktime, you can change your audio settings directly in the screen recording window. Firstly, go to the Menu Bar > File > New Screen Recording.
Step 2
Then, click the white triangle on the right side that opens the drop-down menu and the available microphones will be shown. You can also change the video quality and its location for creating video file from this menu.
Managing your Audio Devices with System Preferences
Step 1
To change your audio input device, firstly, open System Preferences and select the Sound icon.
Step 2
All audio devices connected to your Mac will be shown. Then select the one you want to set up. It will be also shown which type of connection the audio device uses, such as USB, audio line-in or built-in. The Input volume can be set to change the selected microphone’s sensitivity and always tick ambient noise reduction if that feature is present.


